In a lot of ways, the mentality of coding and lab work are polar opposites. Work in the lab is meticulous and demands a strong attention to detail for a successful procedure, leading to a bottom-up mentality. However, coding generally works in a top-down mentality, creating a rough idea of what the code will do, and working out the details as they pop up. This fundamental difference seems to pose a serious problem when it comes to lab automation but can also pose an exciting opportunity to combine both these mentalities when tackling the major issues of biotech today.

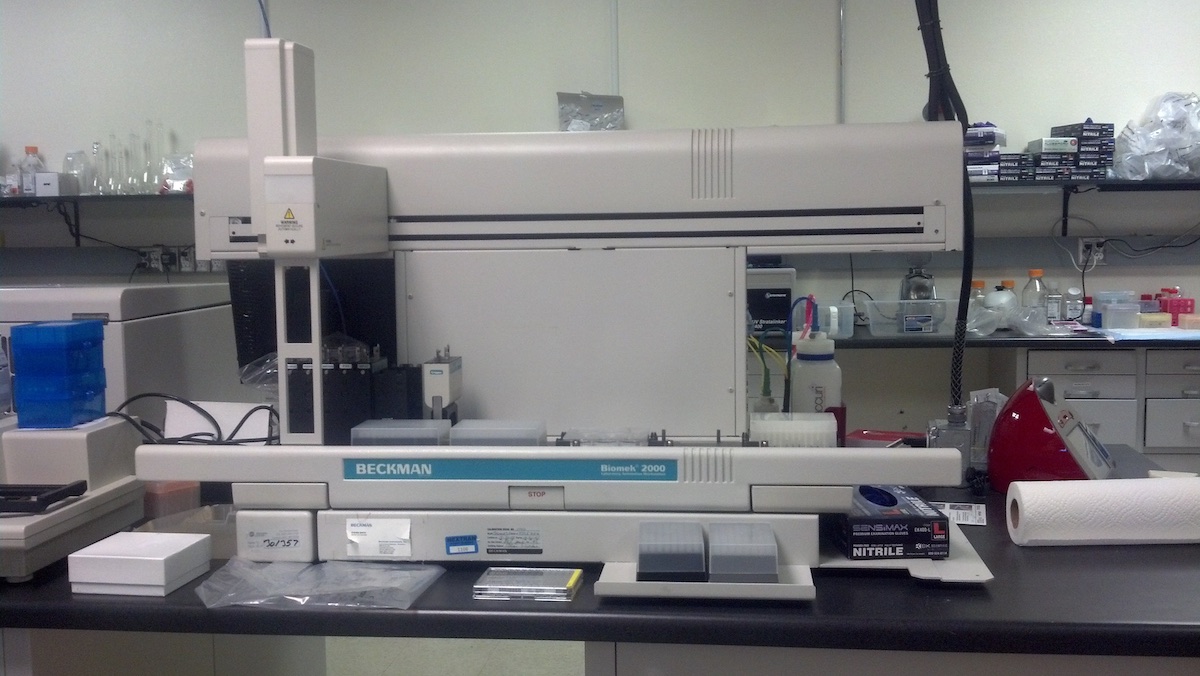
Fig 1. The Biomek 2000. Credit: Thomas Hunt
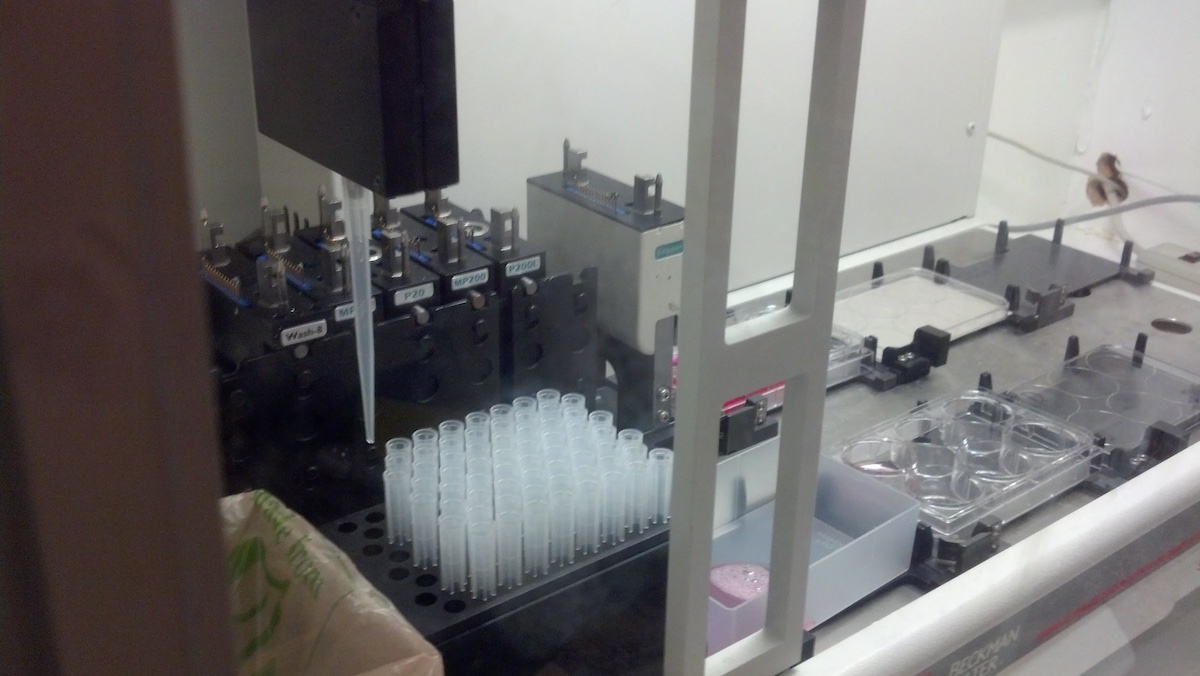
The first code I ever wrote was using the Bioworks code for a Biomek 2000, a liquid handling robot created by Beckman Coulter. Like most lab rats working in smaller labs, most of the equipment we used was older than us, was acquired from some zealous eBay sniping and maintained by the ingenuity and pluck of a few lab rats with a dusty manual. I recall the hours of adjusting parameters, calibrating and the frustration when the machine missed the mark by millimeters. But I also recall the joy of pressing the run button and watching with wonder as an assay I had toiled manually for hours was now being reliably performed with no human presence needed. My first two procedures I would automate on the Biomek was preparing samples for fluorescence microscopy and a hanging drop assay.

Fig 2. The Biomek 2000. Credit: Thomas Hunt
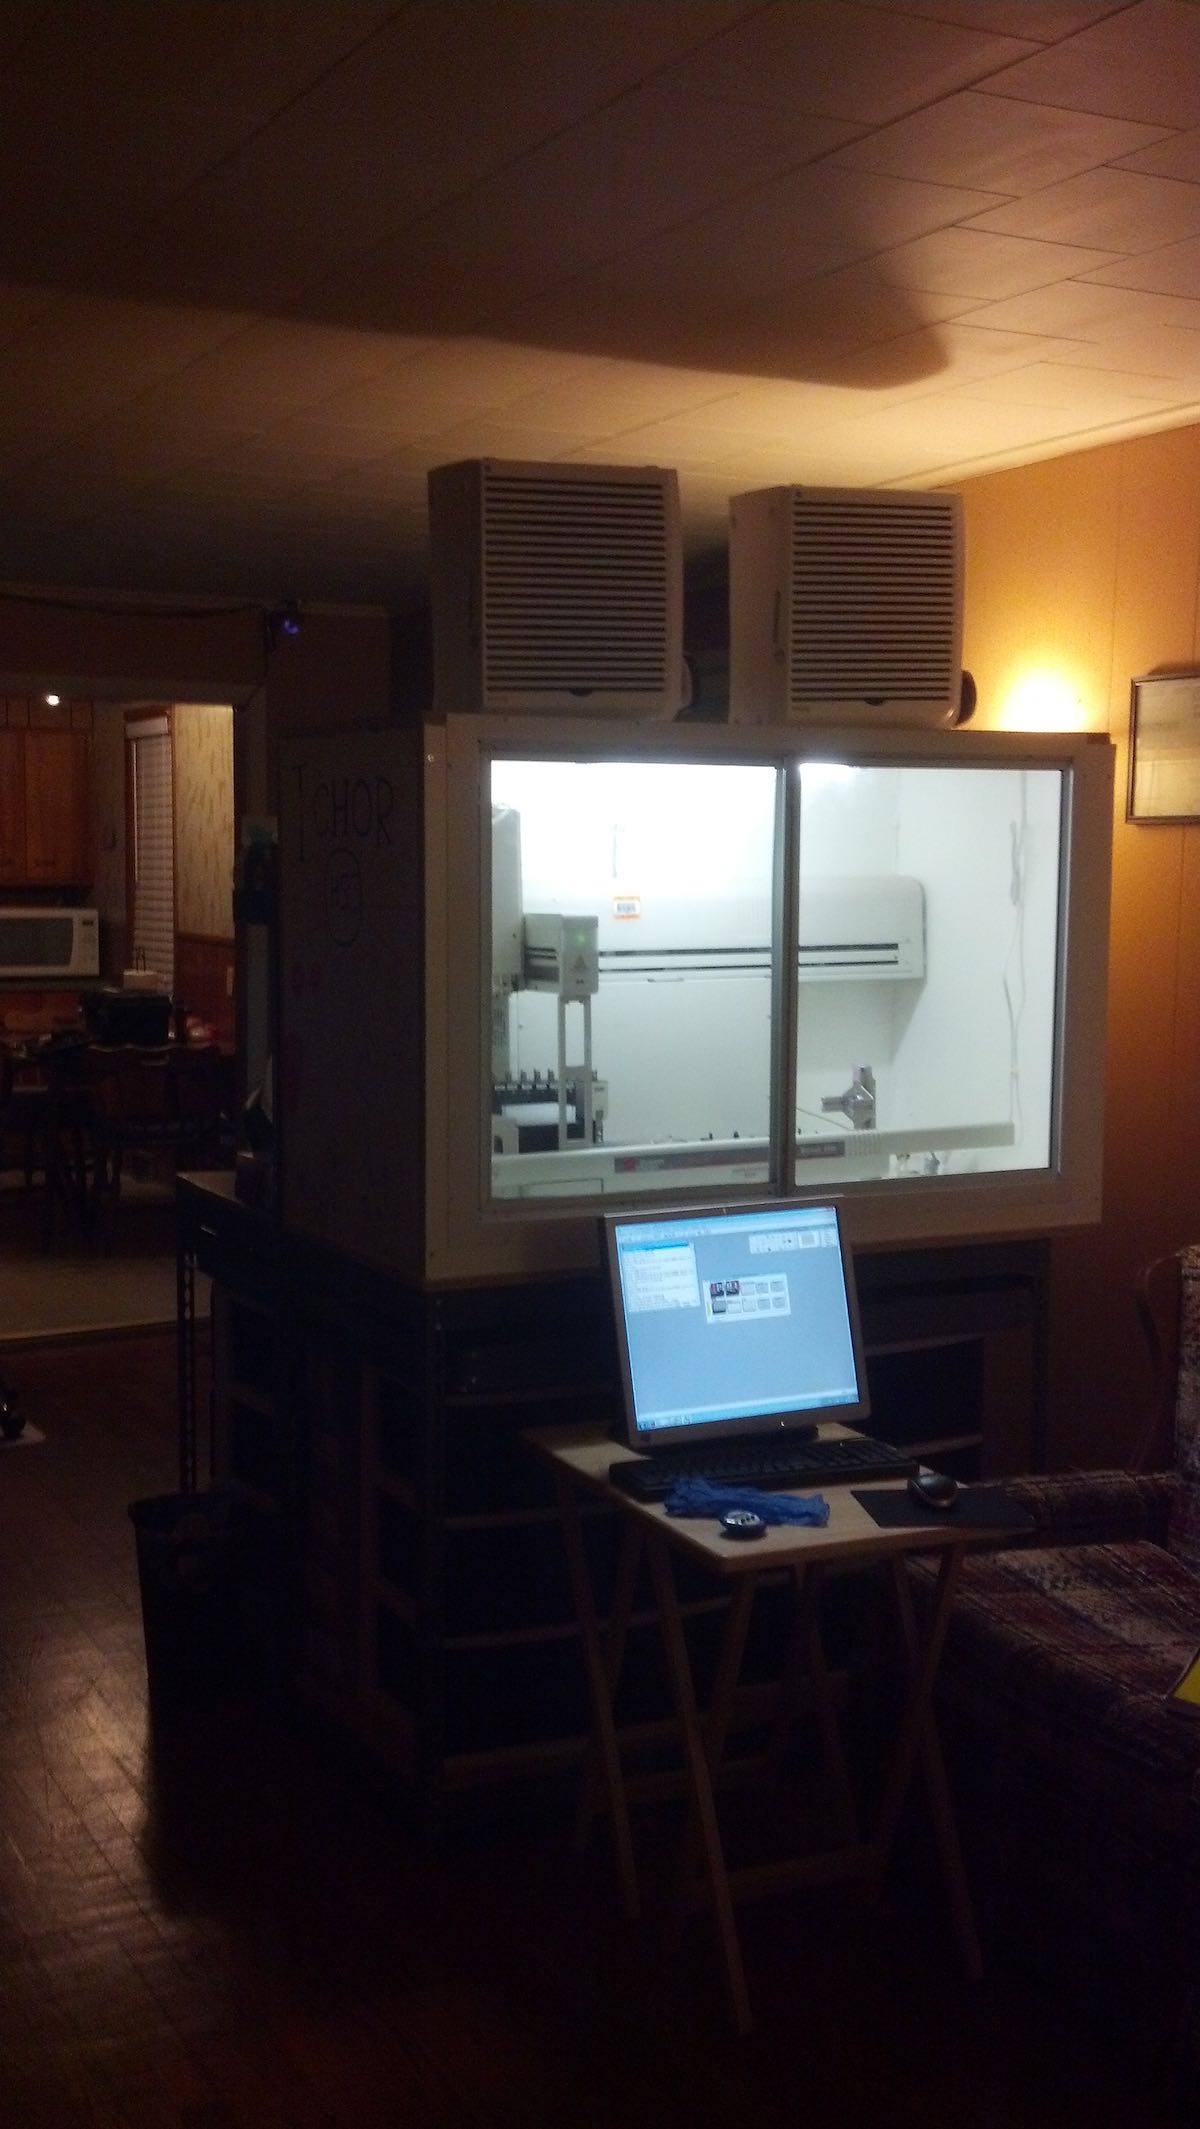
The Hanging drop assay in particular created another challenge for me: constructing custom labware. In order to run the hanging drop assay, a custom HEPA filter system as well as a device to turn plates 180 degrees or a “flipper” were built for the occasion. I will talk in more detail on custom modules later.
To operate Bioworks, the software that the Biomek reads, you need a computer with Windows XP (Windows 7 and above makes it glitchy), a double female RS232 cable and Bioworks installed. The code works in a very cookie cutter fashion, in which actions are pasted into a window, with a loop system also being possible. The actions can range from pipetting, aspirating, picking up objects and other actions, each with parameters that can be adjusted, such as speed, volume, coordinates, etc. A visualization of your deck allows you to place designated biomek modules onto your deck. For the more adventurous, you can use bioscript, in which at any stage you can specify the x, y, and z axis to move the biomek’s arm to specific locations. This custom code will then be placed into the list of actions within the window. These assays can be saved and used for later.

Fig 3. The Biomek 2000. Credit: Thomas Hunt
I can assure you there are a lot better ways to automate your lab, and there are now newer liquid handlers that are open source and far more flexible, but if you want to know more or happen have a Biomek 2000 collecting dust and are looking for more details on using it. I’ve attached a few user guides I wrote in 2014 for BioCurious along with the official Biomek 2000 User guide.
While I was excited about the results I had made with the Biomek, I really was thrown into coding when I had to automate a DNA extraction assay using an Opentrons, requiring me to learn python as well as incorporate more sophisticated elements to the code. (I will discuss the automation of an Opentrons’ OT2 in more detail in my next article.)
Regardless of the machine being used, reliability and repeatability are the two most important elements to automating an assay. A well automated procedure needs to be able to reliably perform said procedure with minimal intervention, no exceptions. If a liquid handling robot fails to do this for at least one assay it’s doomed to become a very pricey paper weight.
There are generally two stages when it comes to automating an assay: getting the machine to be able to perform each of the steps of the procedure and then getting it to perform those steps accurately and reliably. The latter is by far the most tedious and where a lab rat’s perspective most comes out to shine. Any lab rat can attest to the frustration and attention to details that goes into performing an assay well. Tilting the plate while you pipette, carefully noting if you’re pipette tip is at the right level to not cause bubbles or spill the reagent on the side of the well and other observations. The robot does not have these skills and it’s likely your first automated procedure will have many of these flaws. When automating a procedure, I find it can take weeks to get the machine to reliably work.
When deciding which assays to automate, I find having experience doing the procedures by hand will really help you picking what to prioritize. Start by writing out the procedures you do, the number of hours sunk into them and how often you need to do them.
Let’s take an example, say we want to use our OT2 liquid handling robot to automate a serial dilution. I begin by reviewing each step within the assay as it would be done manually.
- Take 96 well plate
- Place 200 μl of solvent X into each well with a multi-well pipette
- Pipette 20 μl of solute Y into column 1 of the 96 well plate
- Throw away pipette tips
- With a new set of pipette tips take 20 μl of column 1 from 96 well plate and move to column 2
- Repeat the two steps above until each column has a dilution of solute Y
Be sure to write any particular details that you keep an eye on when doing this manually, no matter how small. The machine does not keep track of these details and it will be your job later to accommodate for this.
At this point you can now begin thinking about the limiting factors of your liquid handling robot and how this will impact the automation process. How many pipette arms does your robot have? How many open slots on your robot’s deck? How can you minimize the amount of human interaction mid-assay (ideally your assay should be set up, push start button, grab a coffee and come back when the assay is done).
Let’s say we’re working with an OT2. The limiting factors of the OT2 are that it has 11 slots on its deck and 2 arms for pipetting. Fortunately for us, this is more than enough for a serial dilution. We’ll assign one Single well P200 and one multi well P200 to the pipette arms. We’ll assign one 96 well plate, one well containing Solvent X, one 24 well Eppendorf tube holder containing Solute Y and 2 slots for P200 pipette tips (so 5 slots total)
You will need a basic understanding of writing python to go from here and there are lots of great tutorials out there that can help you get the hang of writing python. If you’re using an Opentrons you will find most of the special commands for the Opentrons on the Opentrons website. I’ll be talking about automating the OT2 in more detail in the next article. To do any assay you will need to have 3 parts.
- Download any packages with specific commands (such as the ones offered by Opentrons)
- Define your modules and objects on the deck
- Write the commands you want to do
At this point your only limit is how much python you know. You can write loops that will allow you to perform hundreds of pipettings with only a few lines of code. You can create lists and dictionaries so that you don’t have to manually tell the machine where to pipette. If you have the time you can even begin writing custom functions that you can use for other assays you automate. If you don’t have any coding experience I recommend discussing this with someone with dev experience. The most elementary coding stuff to them will turn your code into a force to be reckoned with.
You should now have a working chunk of code that’s able to perform the assay. For out example, we’ve pressed the start button and in a dry run, the OT2 was able to use its pipette arm to pick up pipettes, move to the correct well and shed pipettes, performing a successful serial dilution dry run. Now is where being a seasoned lab rat pays off, as it’s your job to calibrate the device so that it can reliably perform the assay. Is the solution more viscous than water? You can adjust the speed and level of the pipette to accommodate this. You can add a step where the pipette mixes the liquids. Watch the pipette tips carefully to ensure that common automation mistakes, like pipetting air bubbles, failing to pipette out liquids and other issues don’t take place. At the end of the calibration your assay should be able to be consistently and reliably performed each time.
If you’ve reached this point with at least one assay then congratulations, the hardest part for using a liquid handling robot is over. You now have a working assay your lab regularly needs to perform reliably automated. From here the value of your robot can only increase. The more you automate, the more time you can free up for other higher level research as well as increase the capabilities of your own lab. As you continue to master coding you’ll improve upon your old code and begin tackling even more sophisticated assays. At the very least your lab will be able to boast having a non-paper weight robot.
Thank you for reading! In the next article I will be talking in more detail about operating the OT2, writing python script for it and building custom modules for automation.
Additional Material
Watch the Biomek 2000 in action, courtesy of Thomas: [video 1 | video 2]
For those who want to dive deeper, Thomas has written up a few Biomek guides over the years:
For those who really want to geek out, here’s the Biomek user manuals that Thomas was able to dig up and provide the Biomek 2000 user guide and the Biomek Software User’s Manual


